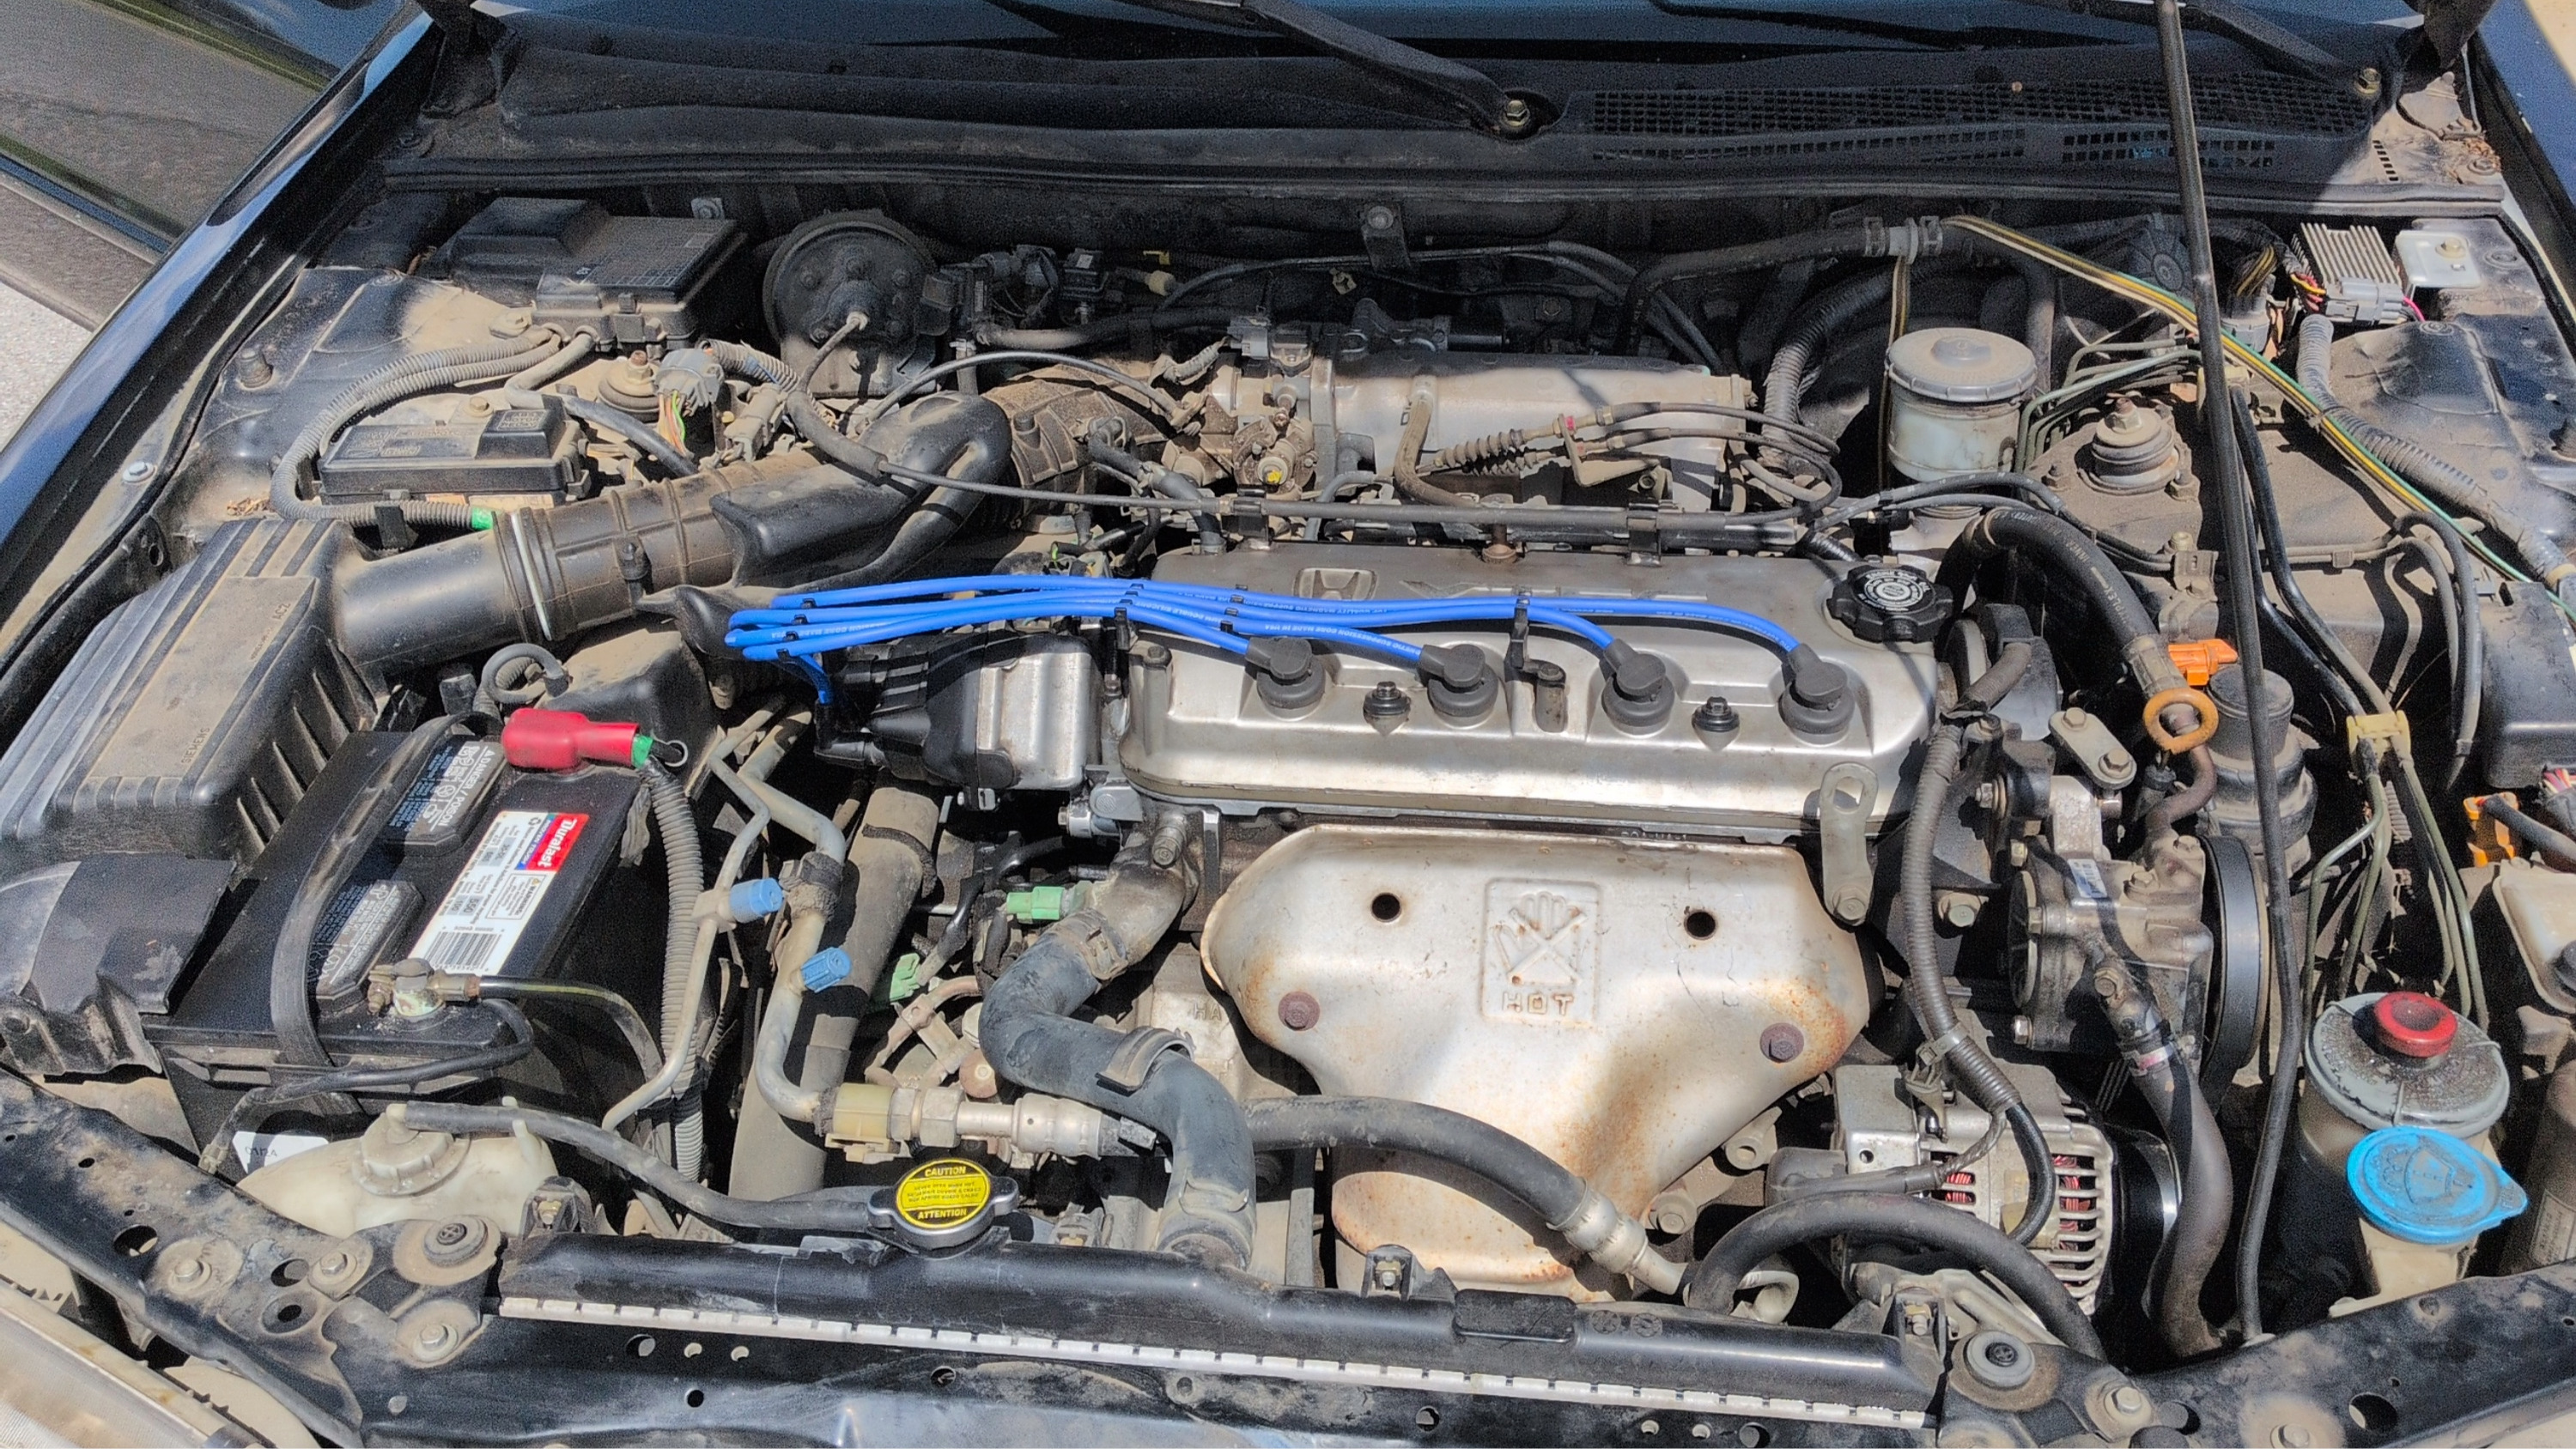
Project Honda Afford
What a Hunk of Junk
I bought this Honda Accord in the fall of 2020. I had about $300 to my name, I was in love, and I needed a way to get around. For the previous ten years I'd been getting everywhere by bike, ever since my 2002 Corolla died on me. That one was my fault — check engine light came on, I took it to a shop, the bill was more than I could afford, and that was the end of the car. So began a decade of being a bum on a bike.
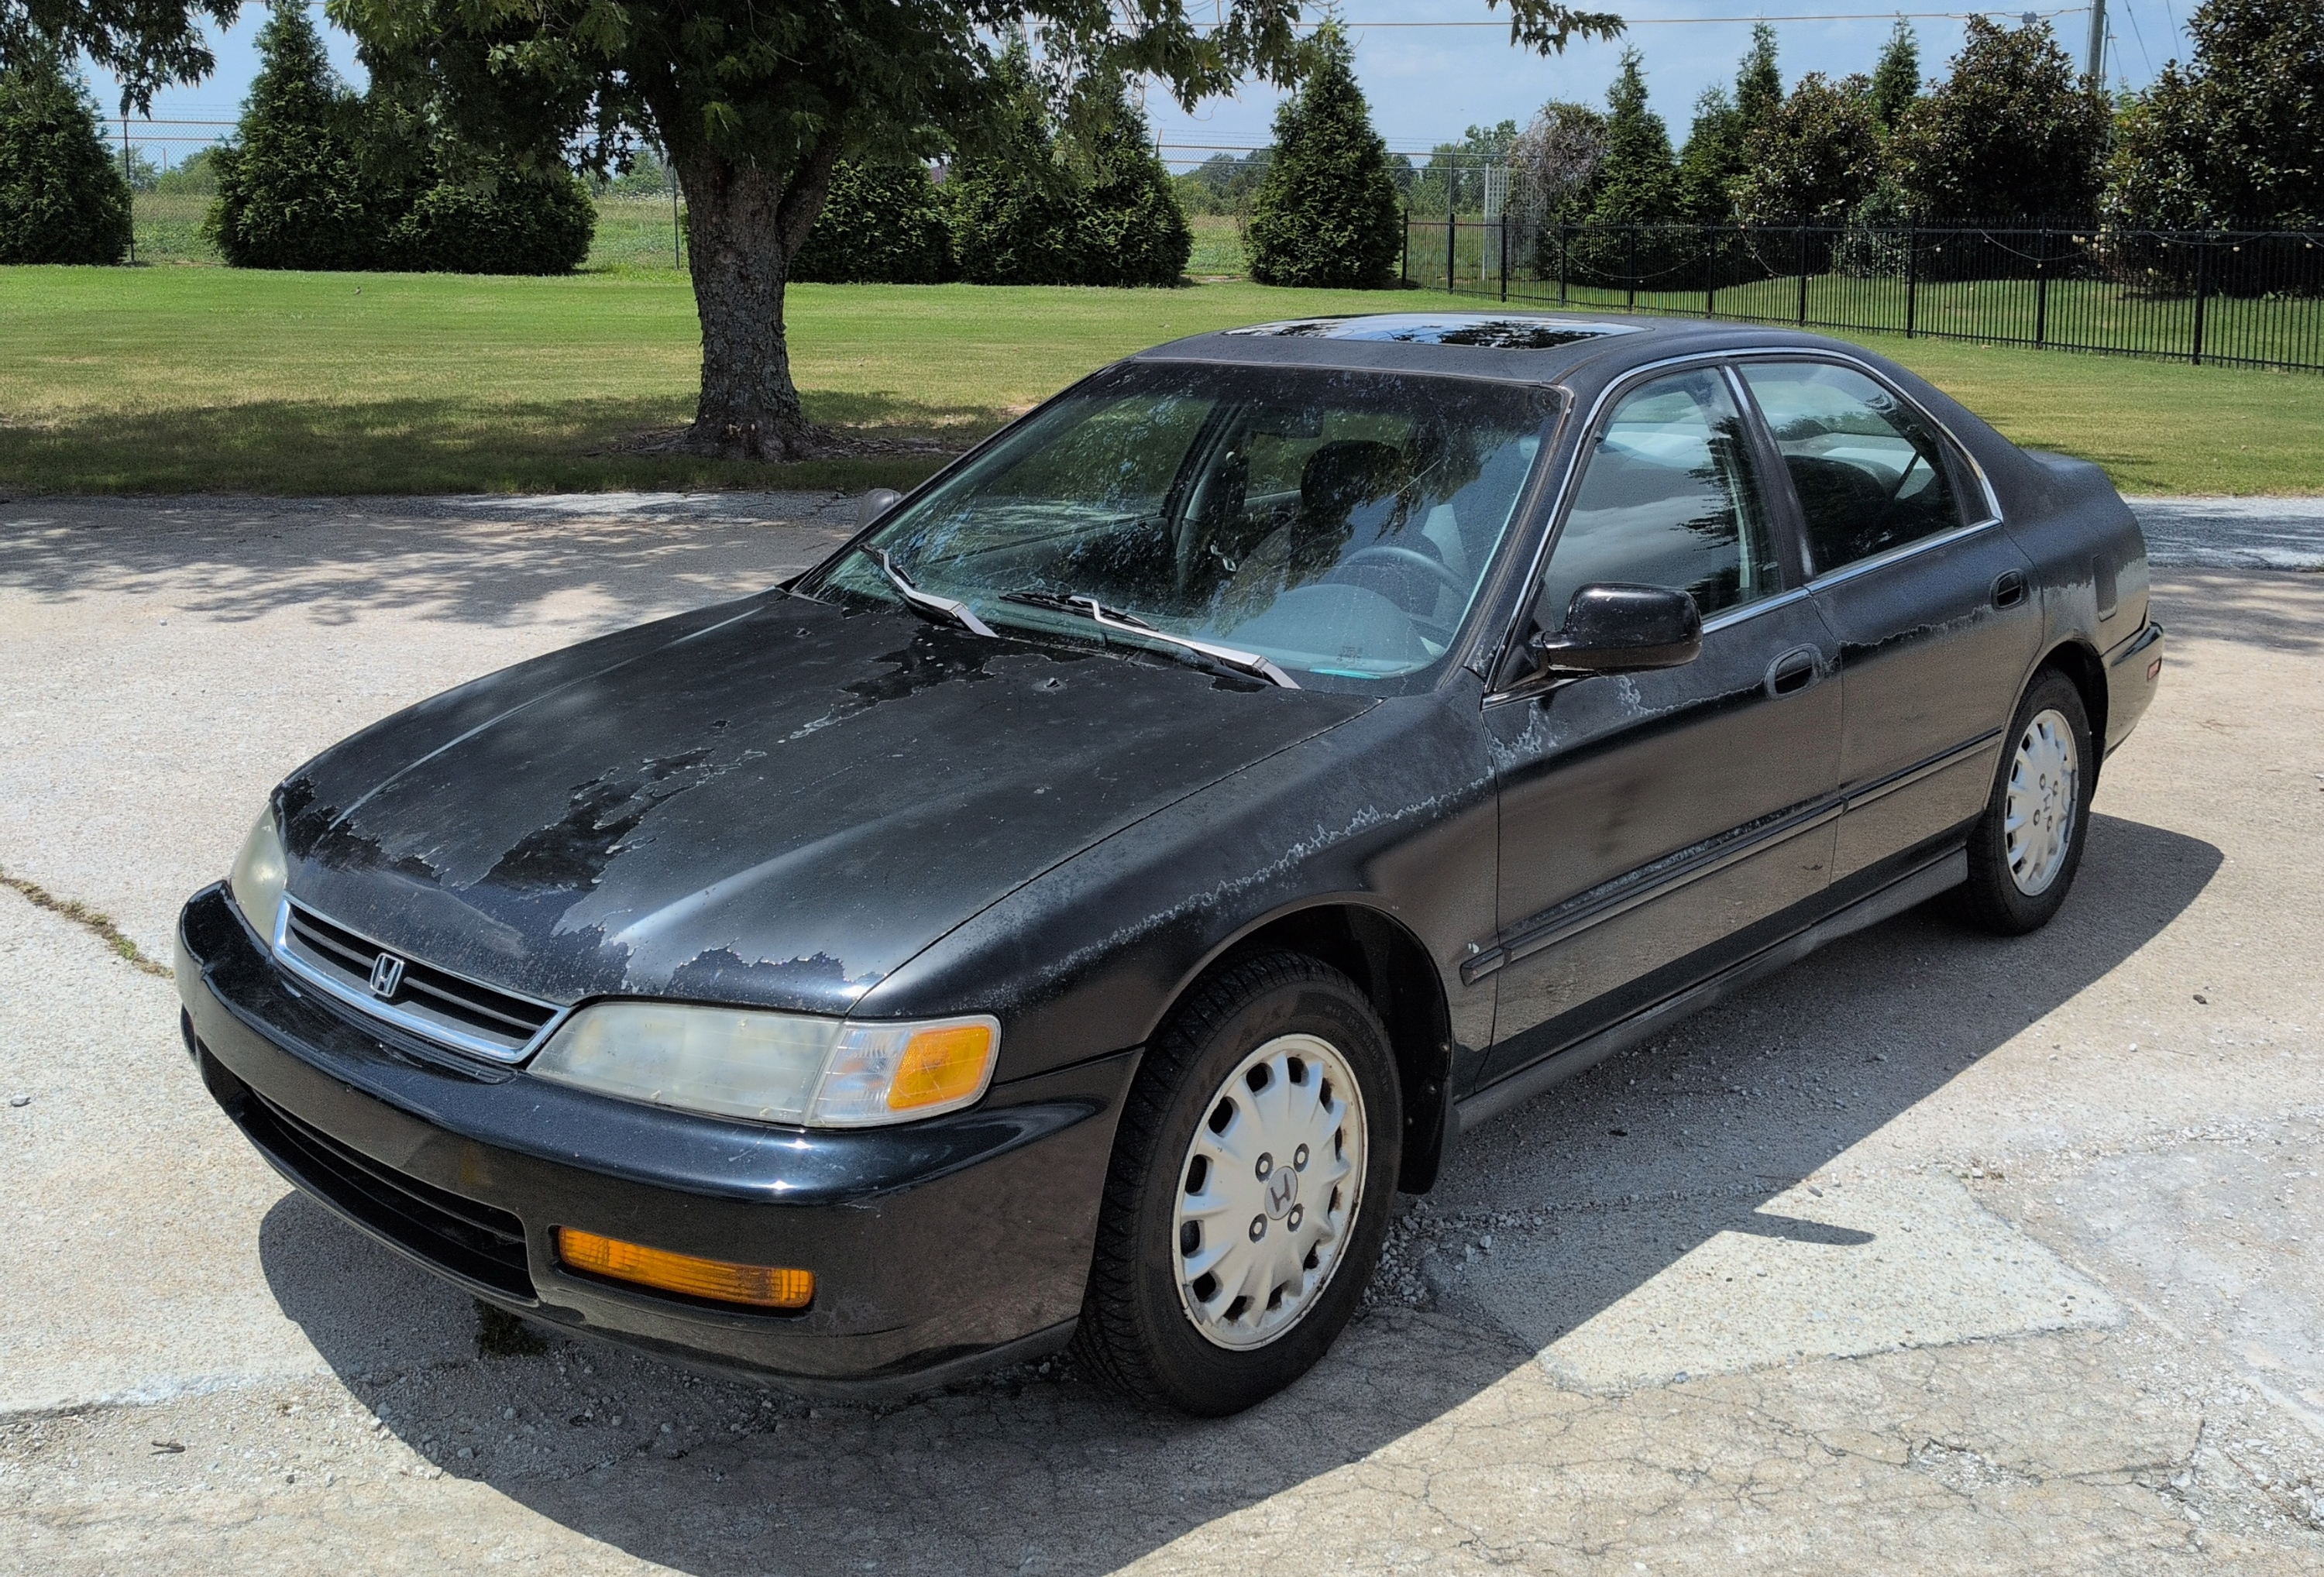
Never Again
The friend who sold me the Accord handed over a list of things that would probably need attention sooner rather than later. About a month in, the alternator went out. My first instinct was to call a shop. They wanted half of what I paid for the car. The part was a quarter of that at AutoZone. Message received — I needed to figure this out myself.
Timing Is Everything
Over the next six years I learned by fixing things as they broke. Alternator, then a busted axle, then a dead distributor, then the wiper motor giving out on a rural Missouri road in the middle of a flood. Each one made me a little less afraid of the next. But there was always one job hanging over my head — the one I knew I'd eventually have to do, and dreaded doing. The timing belt.
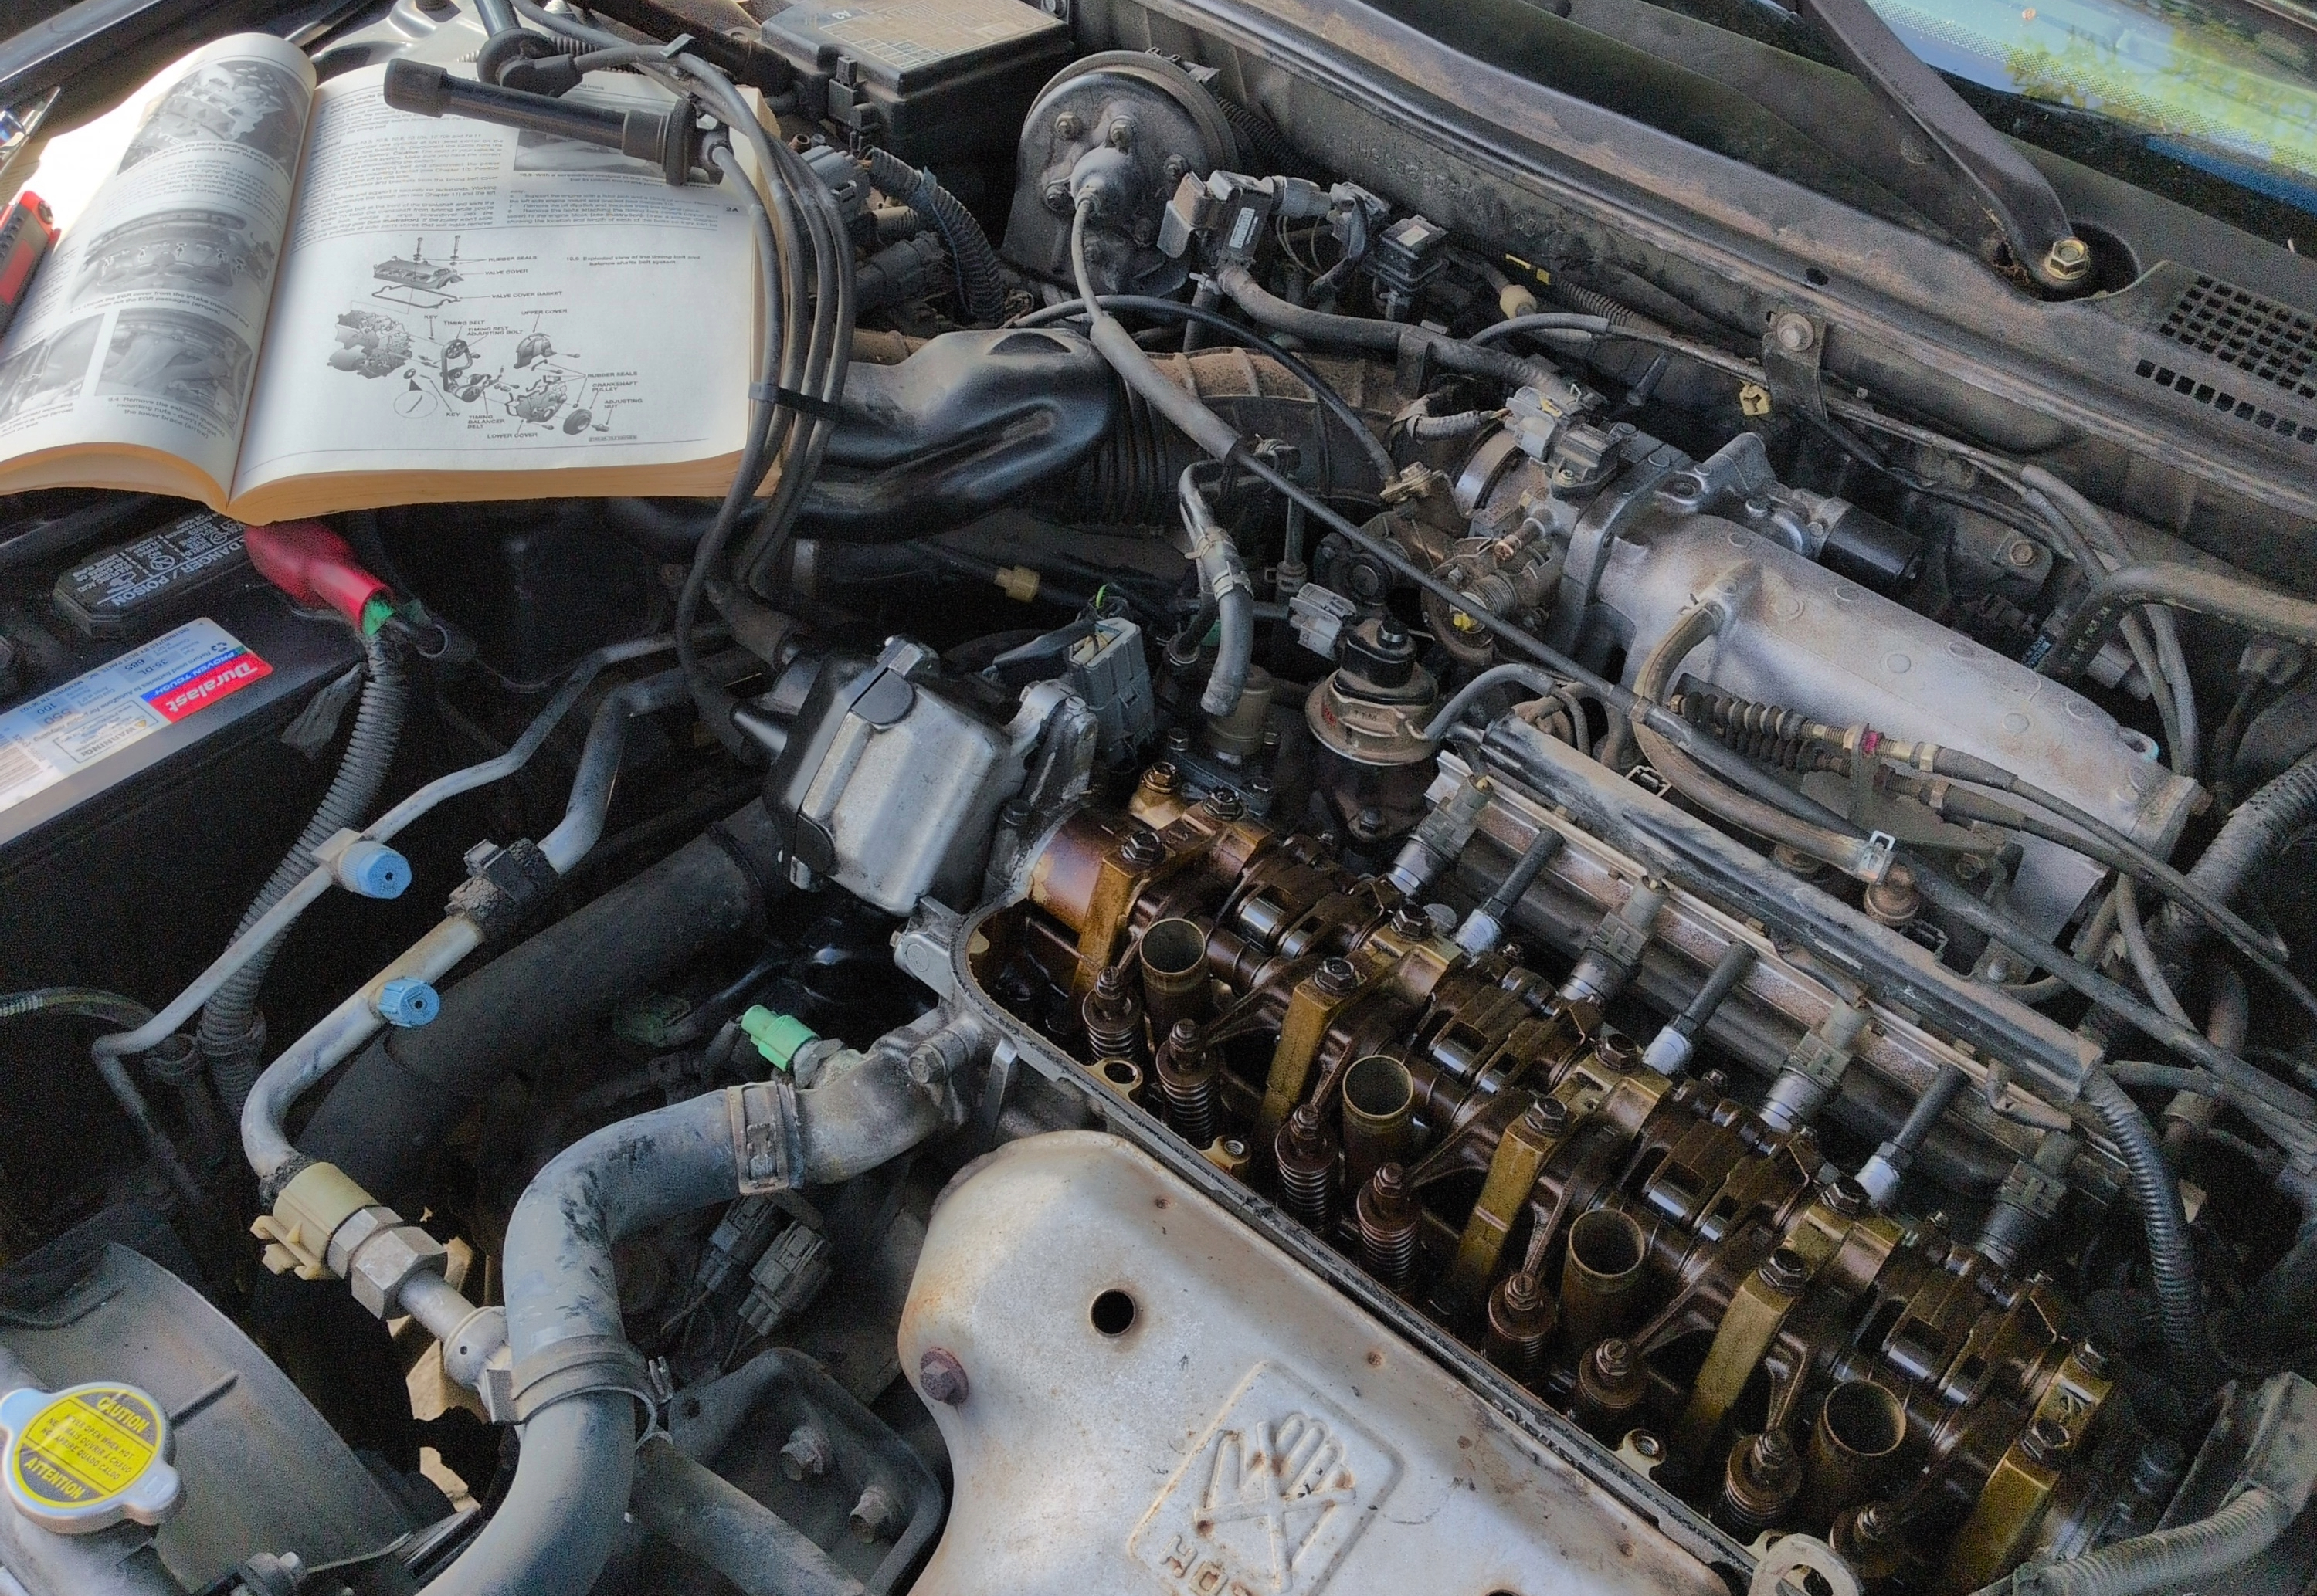
In Too Deep
Last year I finally admitted I was overdue by about ten thousand miles. The F22B1 could probably keep going for a while, but a snapped belt on an interference engine is game over. Time to stop putting it off.
By this point I knew the fifth-gen Accord well enough to know that a timing belt job isn't really a timing belt job. It's the excuse to do everything else you should be doing while you're already in there:
- Timing and balance shaft belts
- Water pump
- Valve cover gasket and spark plug tube seals
- VTEC solenoid gasket
- Distributor outer gasket
- Crankshaft seal
- Camshaft seal
- Timing and balance tensioners
Most repairs are unbolt the thing, put the new thing in, torque to spec. This one wasn't. Half of the list lives in the kind of claustrophobic space '90s Hondas are famous for, and most of the parts depend on each other — you can't do one without doing all of them.
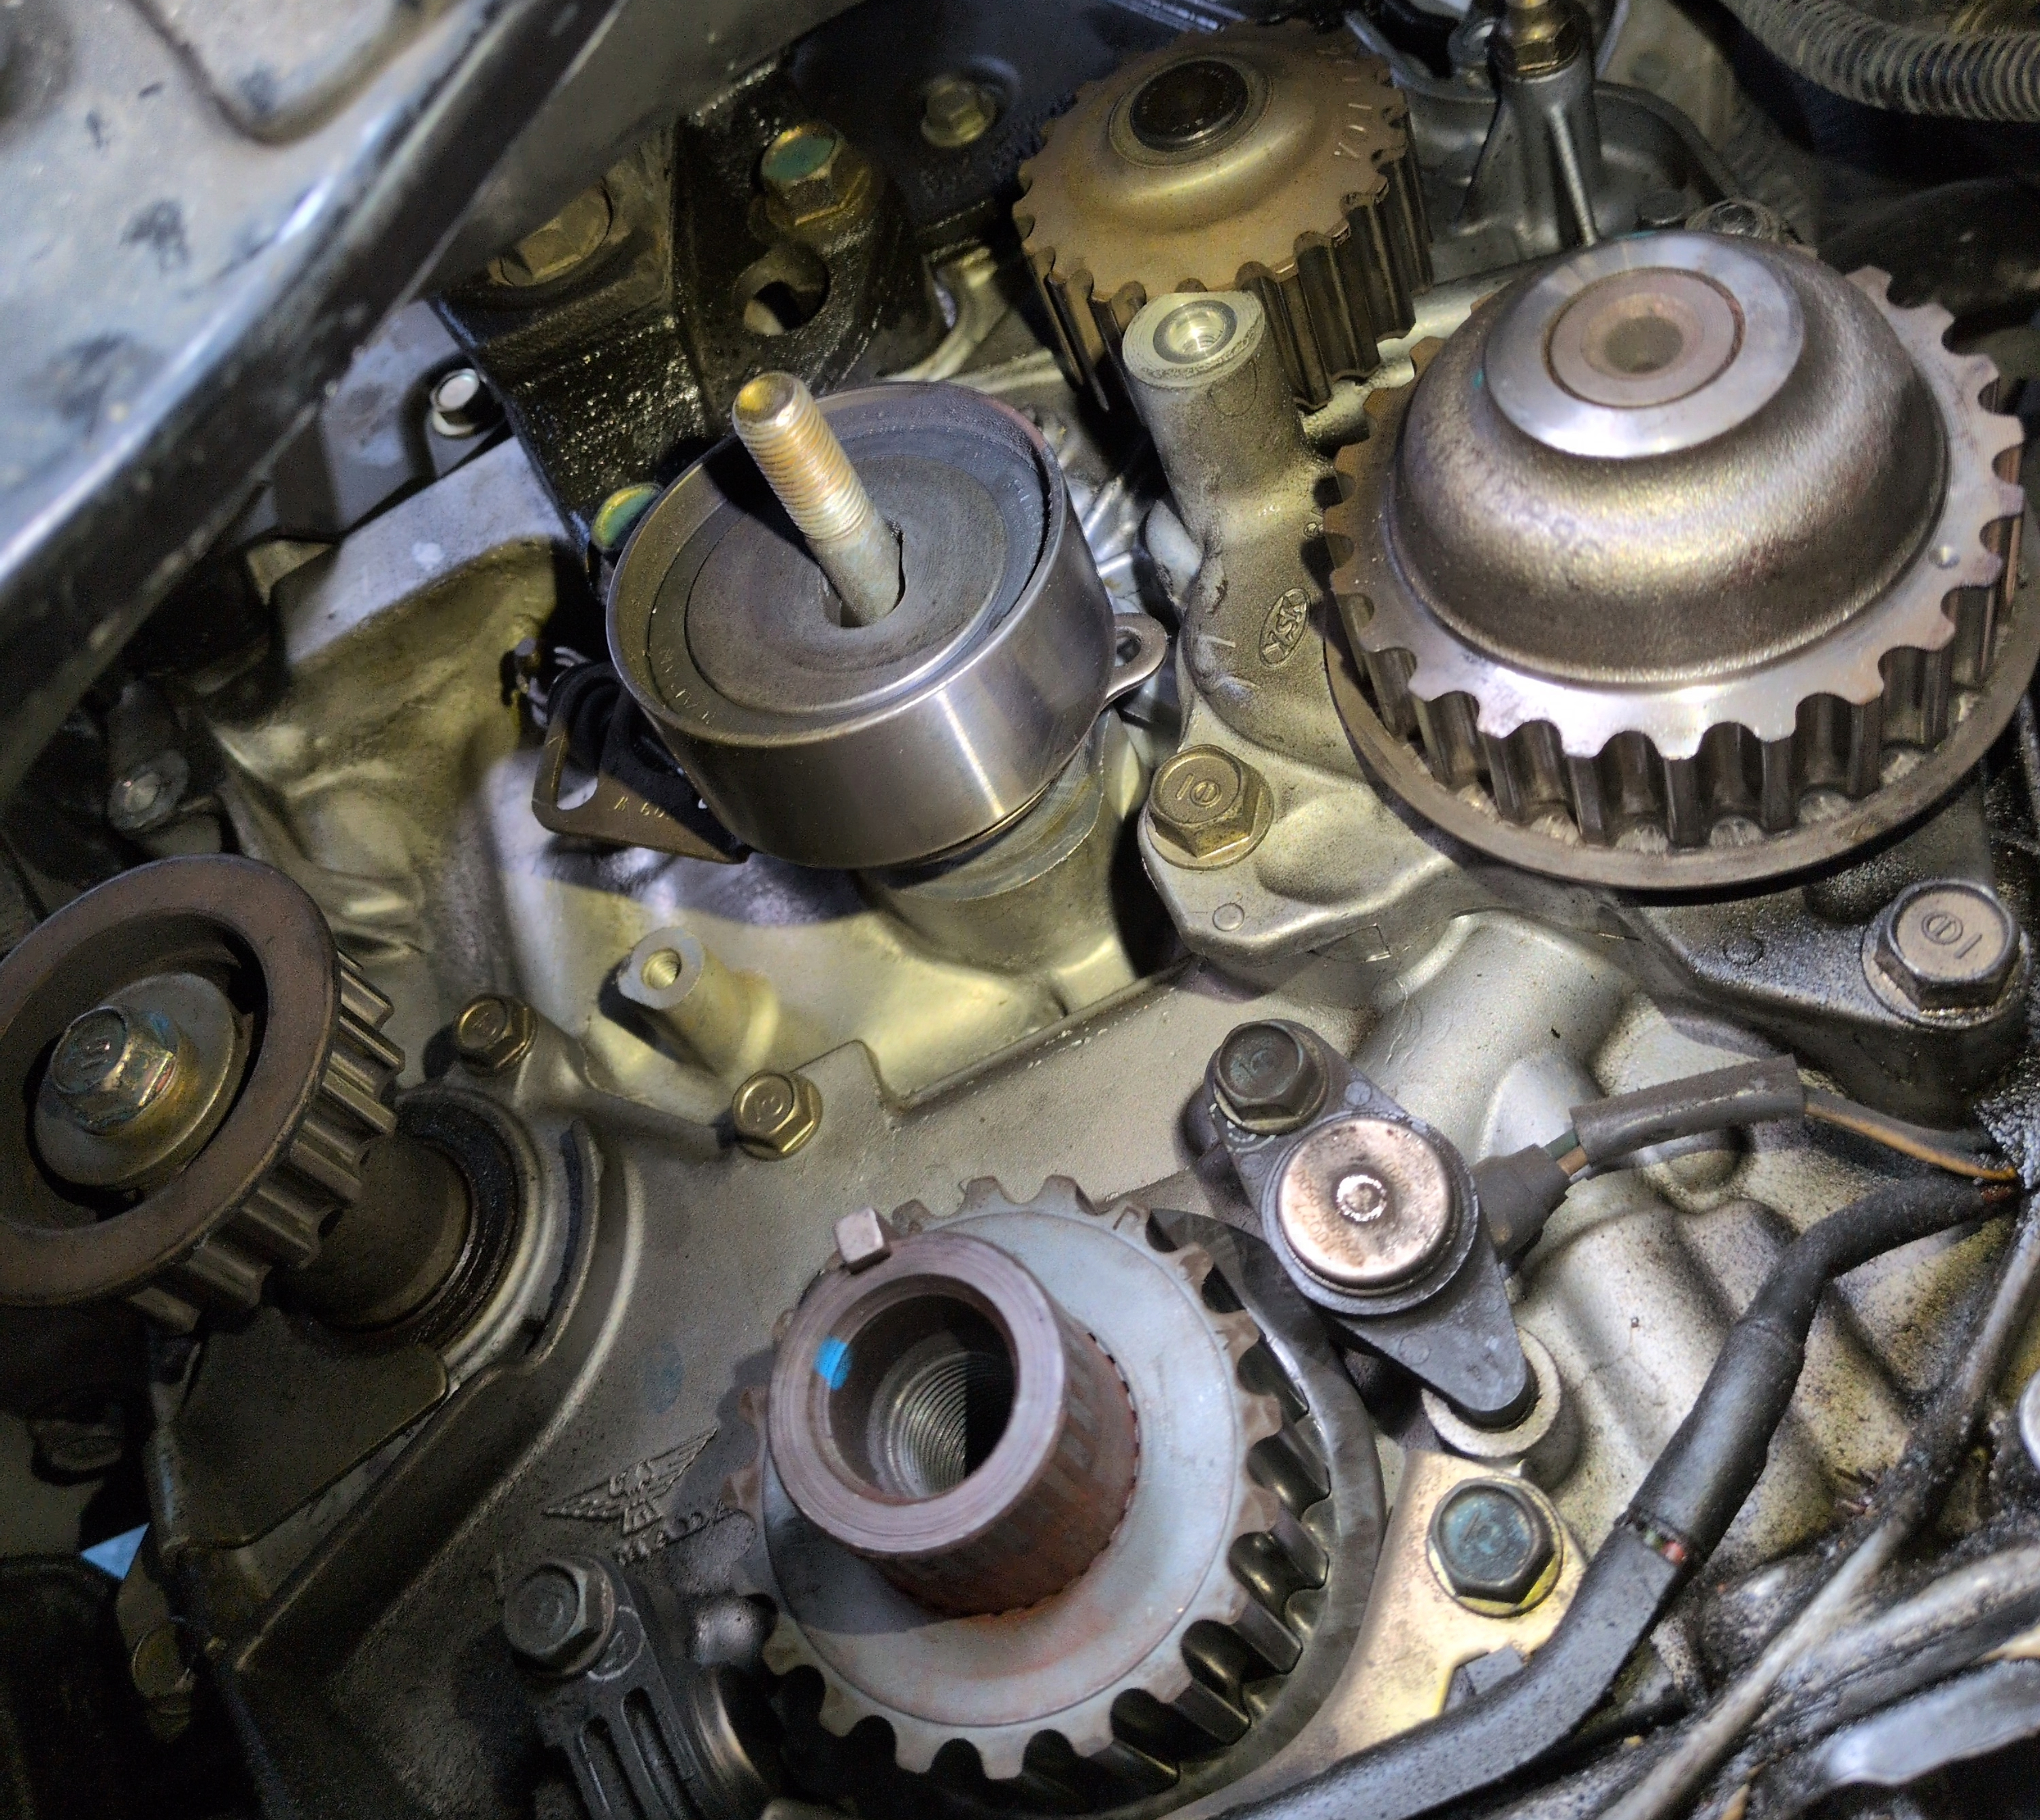
The Best Laid Plans
I spent a couple of weeks prepping. Haynes manual, teardown videos, parts staged, tools laid out. I don't have a garage, which was the other problem — a surprise rainstorm with the valves exposed would be unrecoverable. And it was early July, so 100-degree days were baked in. I planned for what I could plan for and hoped for the rest.
Ready Set Disaster
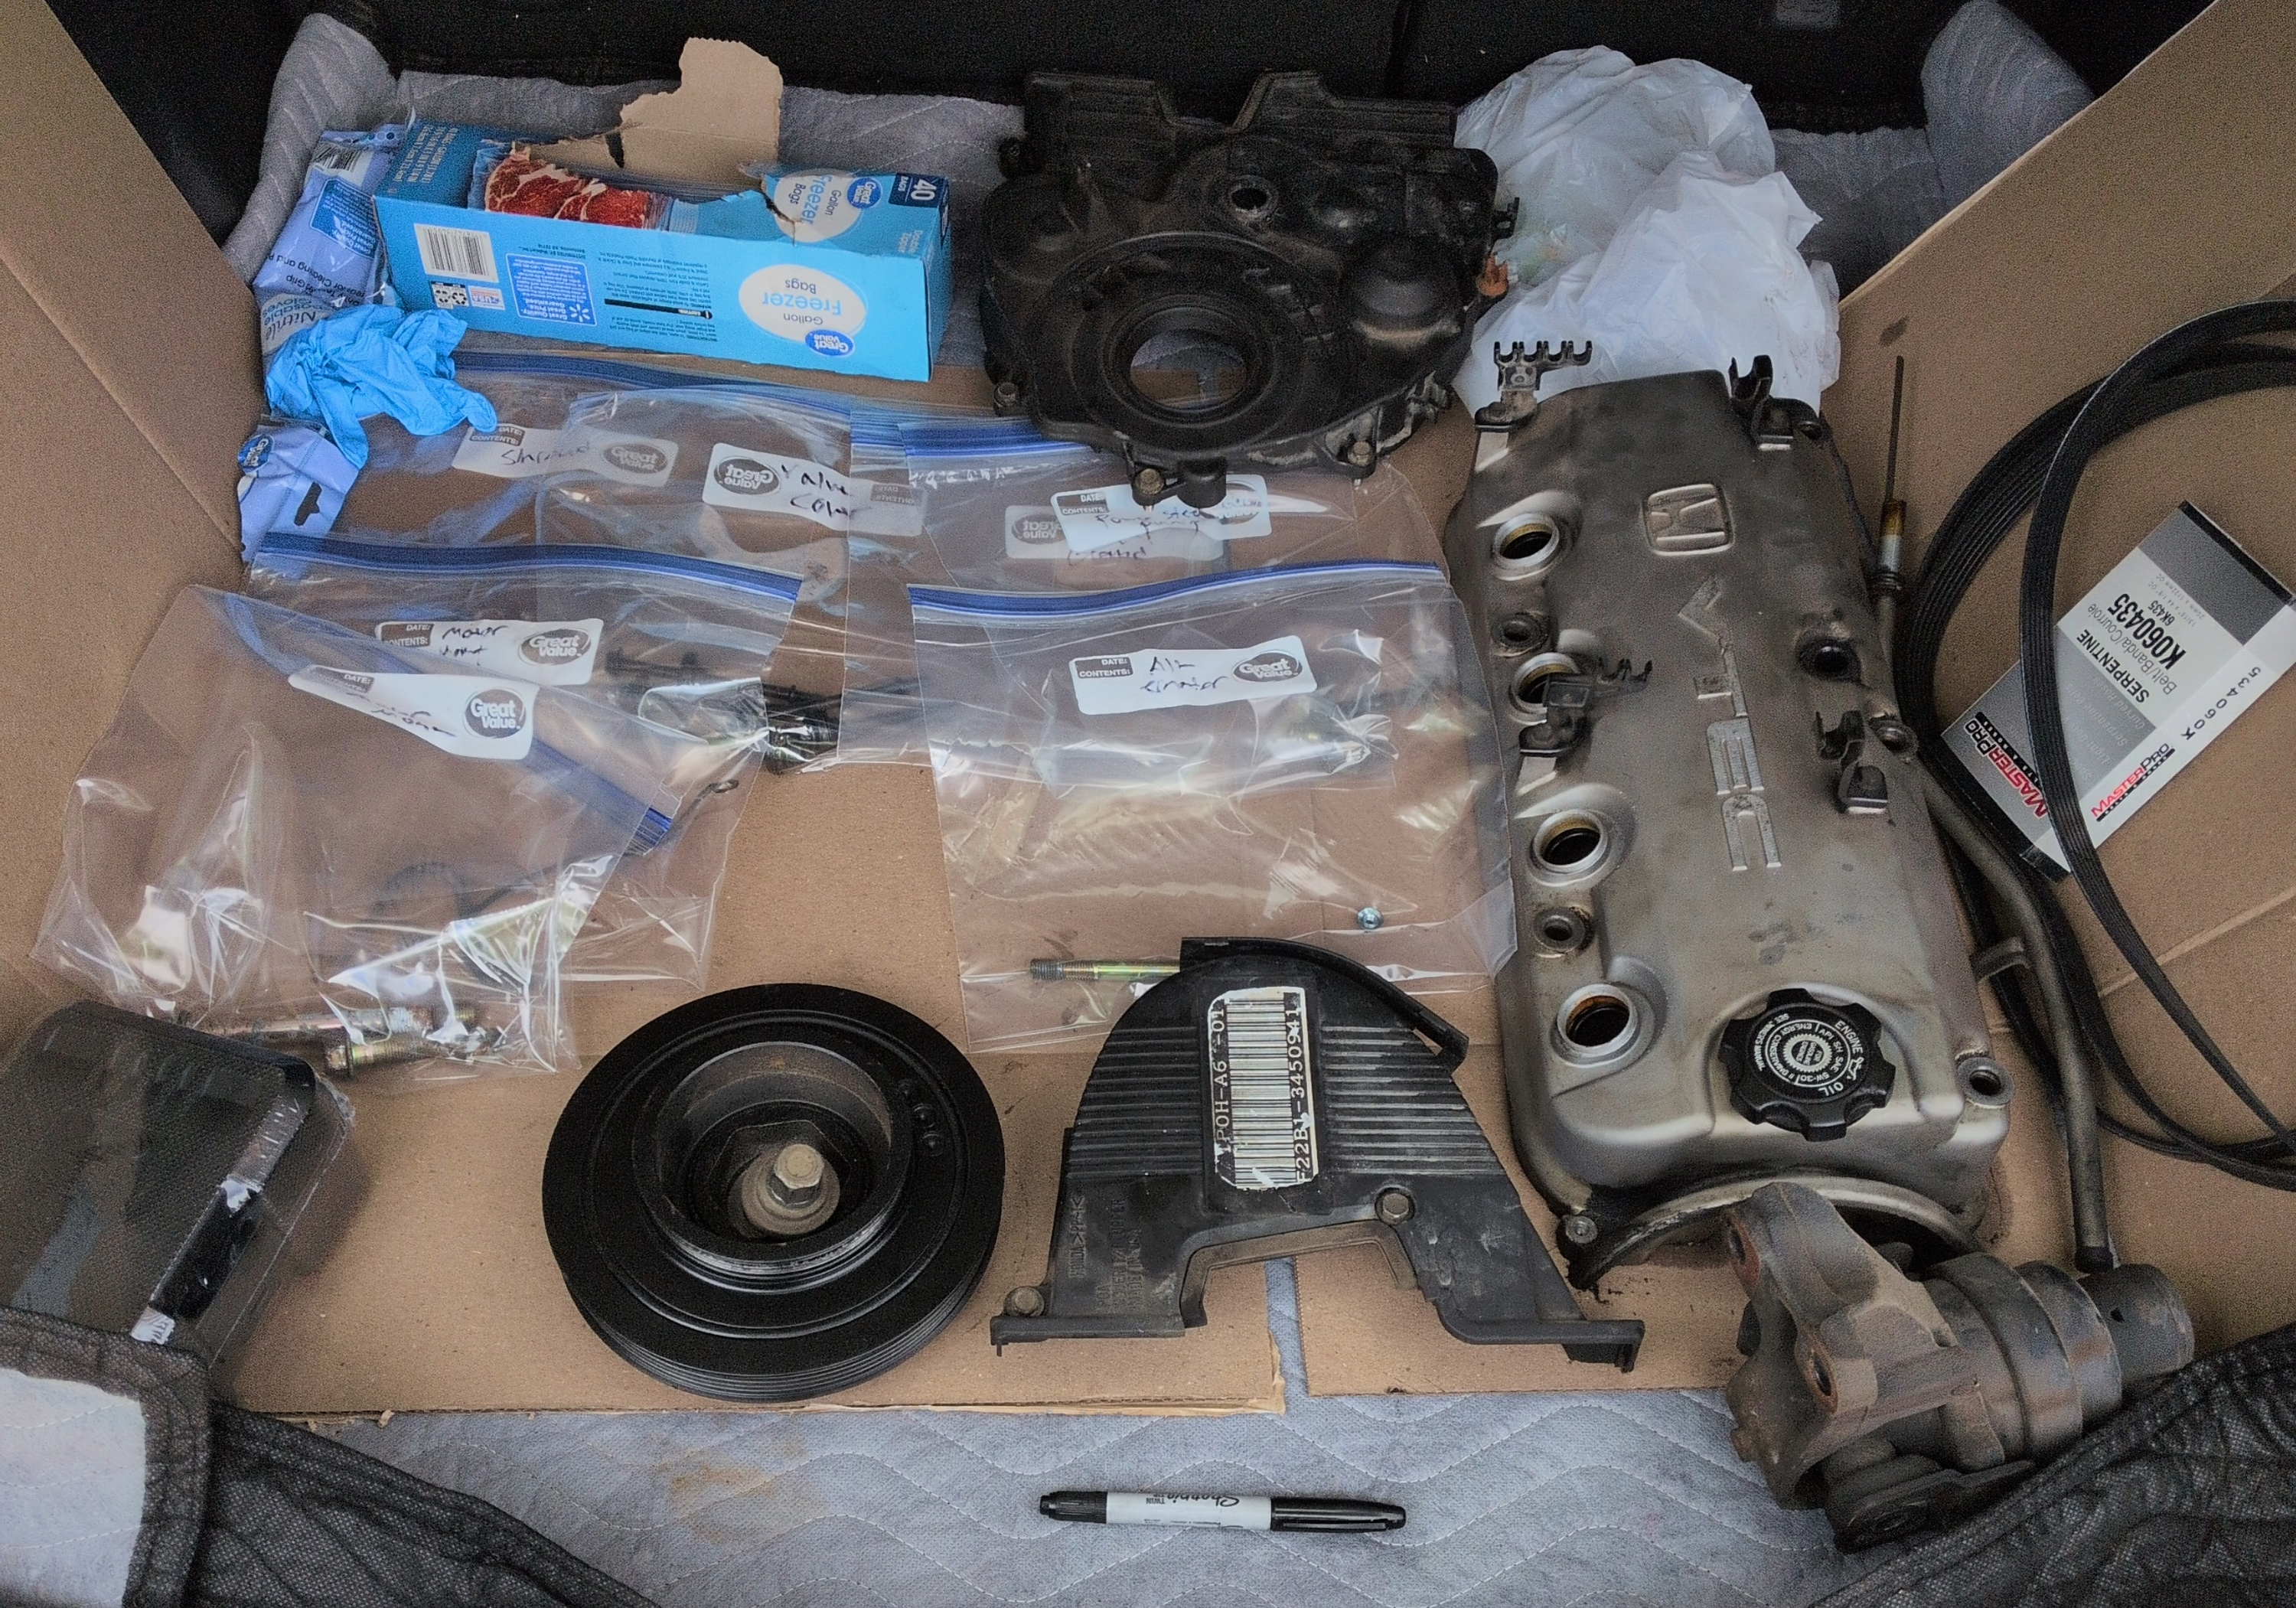
The day of, I got started early.
- Spark plugs, out.
- Valve cover, off.
- Motor mount, unbolted.
- Harmonic balancer, wrestled off.
It went smoothly. I marked every pulley position, bagged and labeled every bolt. I wanted to do this right.
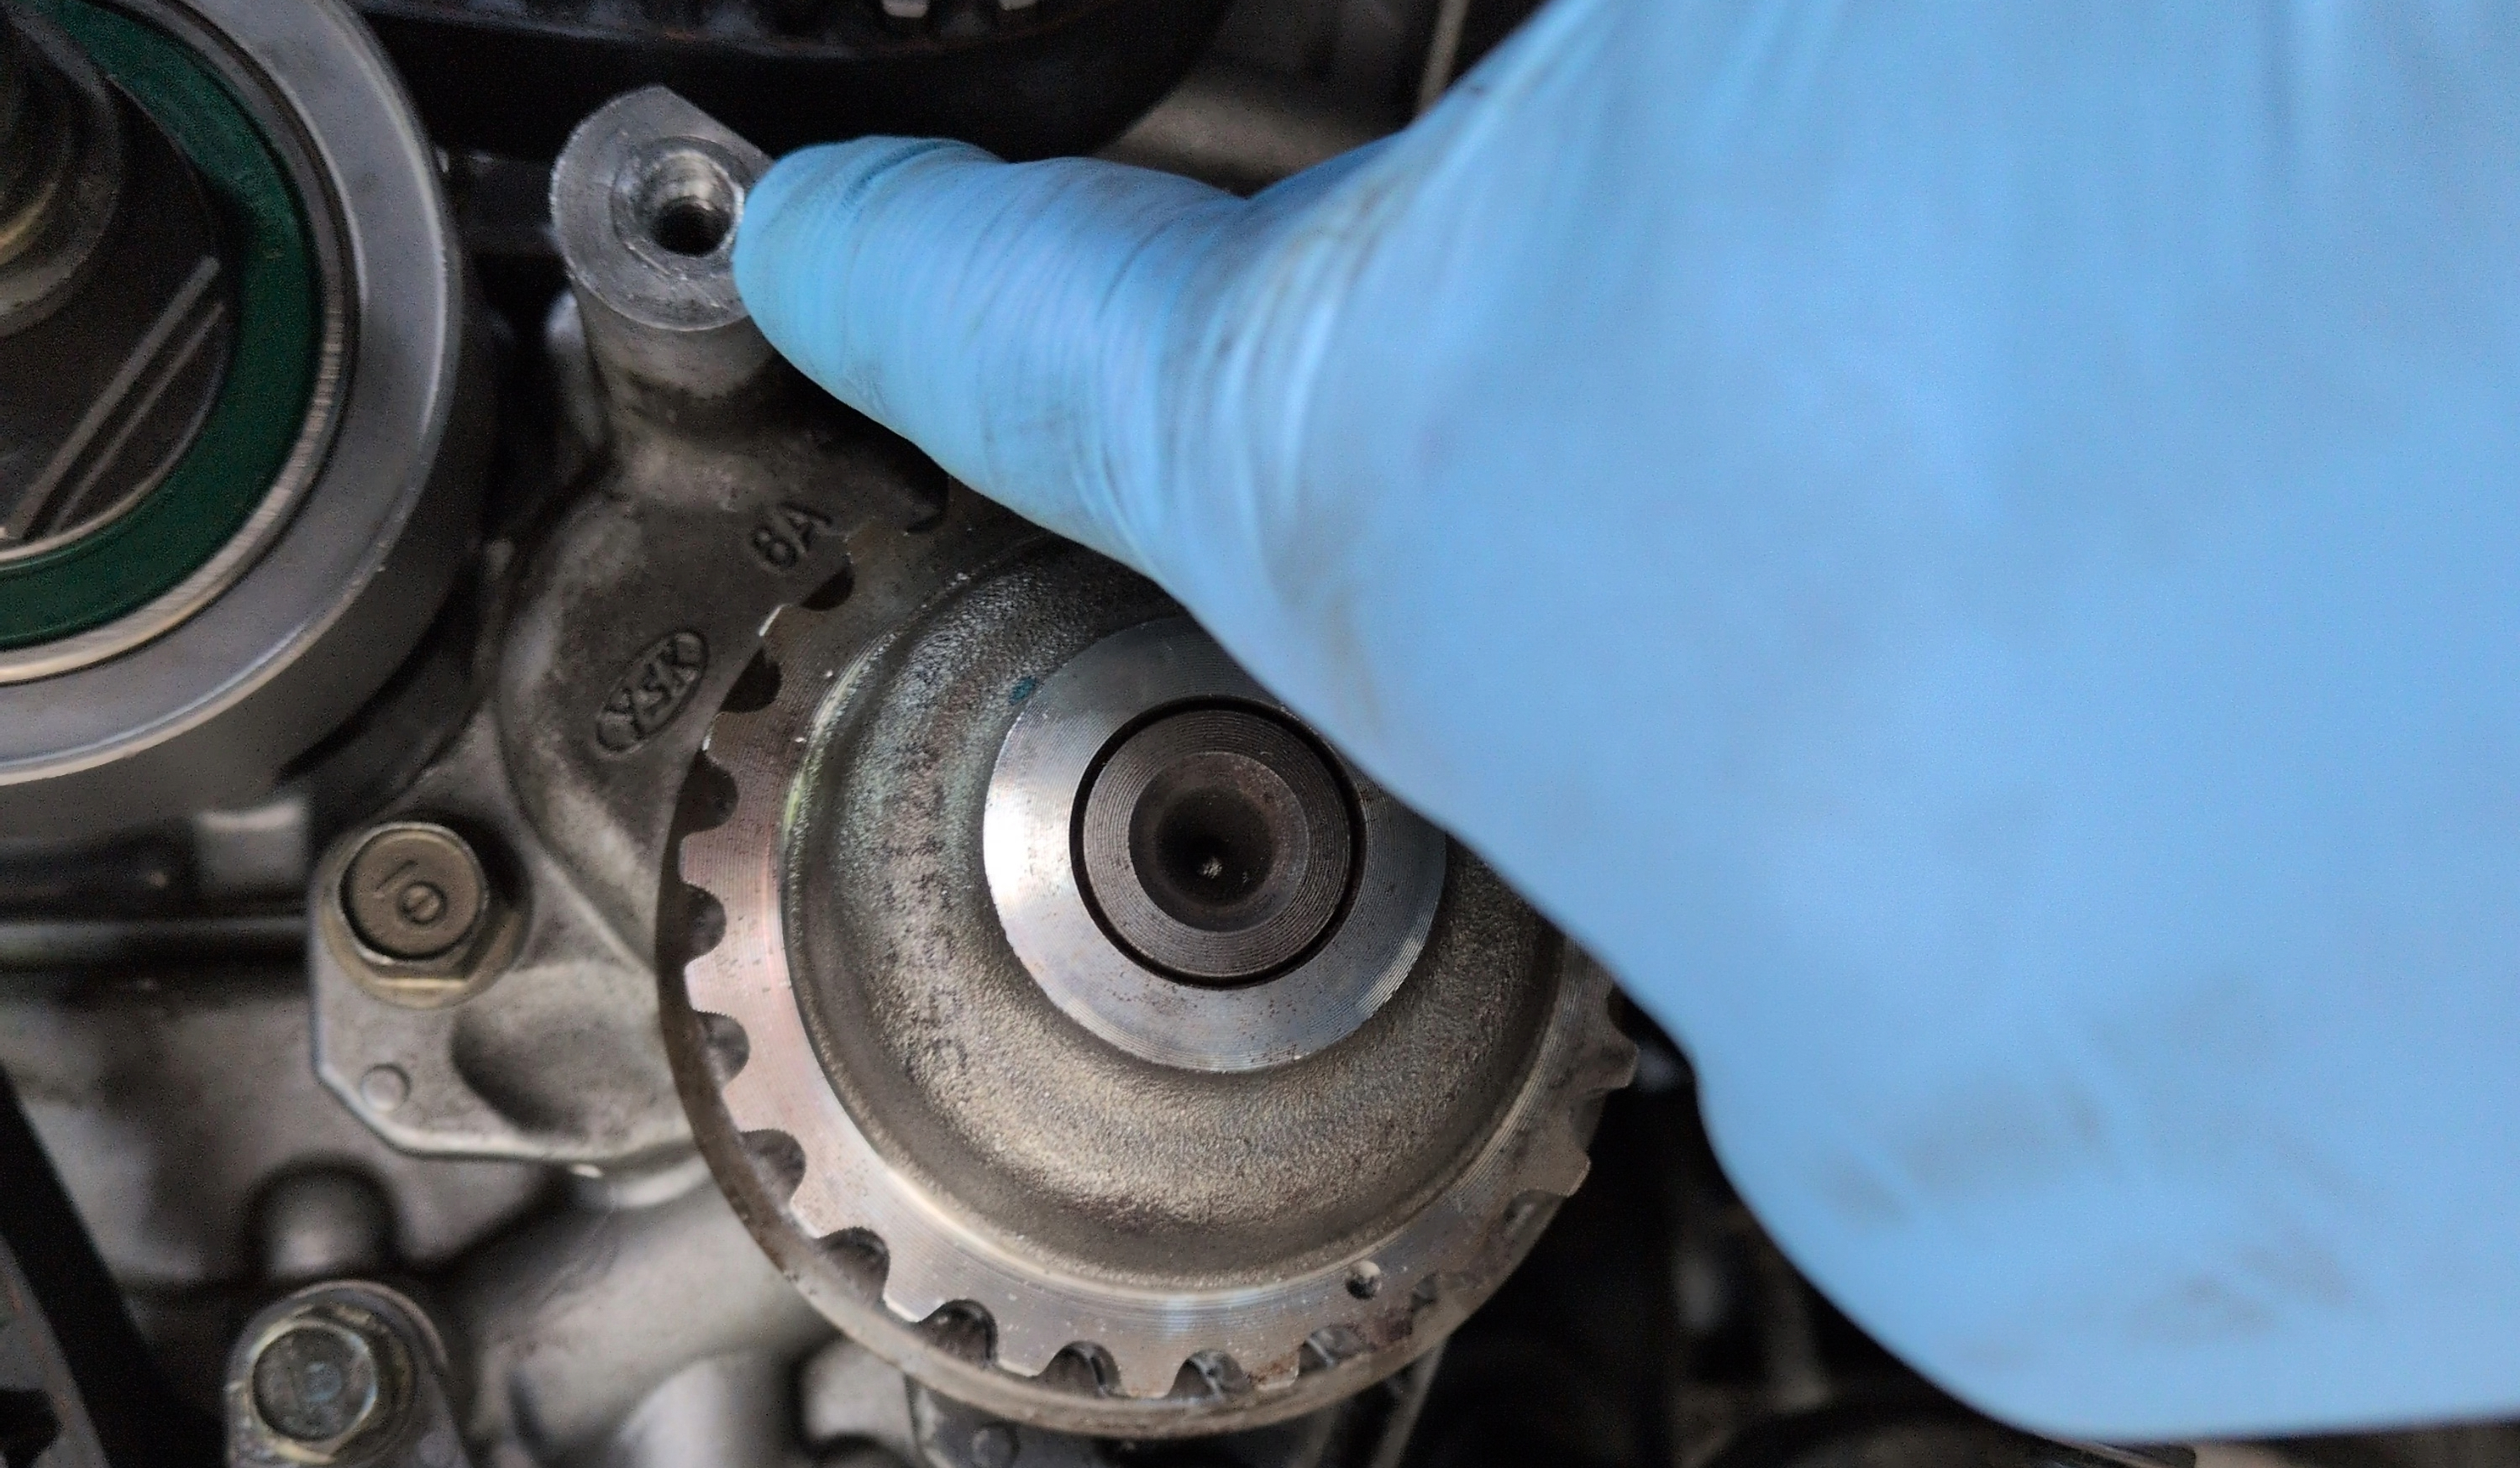
Then, halfway through reinstalling everything, I got to the balance shaft tensioner bracket. And for no good reason — ignoring everything I'd learned — I grabbed a foot-pounds torque wrench instead of the inch-pounds one and figured I'd just do the conversion in my head.
Snap. The bolt sheared off in the hole.
F$#@
Well. That was a new one.
The broken half was buried at the bottom of a 10mm hole, with a wall of solid steel an inch and a half behind it. And it wasn't a fastener I could grab from the local hardware store — it's a specific Honda part, sourced from Honda.
Before I could worry about the replacement, I had to get the stub out of the hole. I had no idea how. What I did know was that I'd been in the sun for eight hours, I was cooked, and a storm was rolling in.
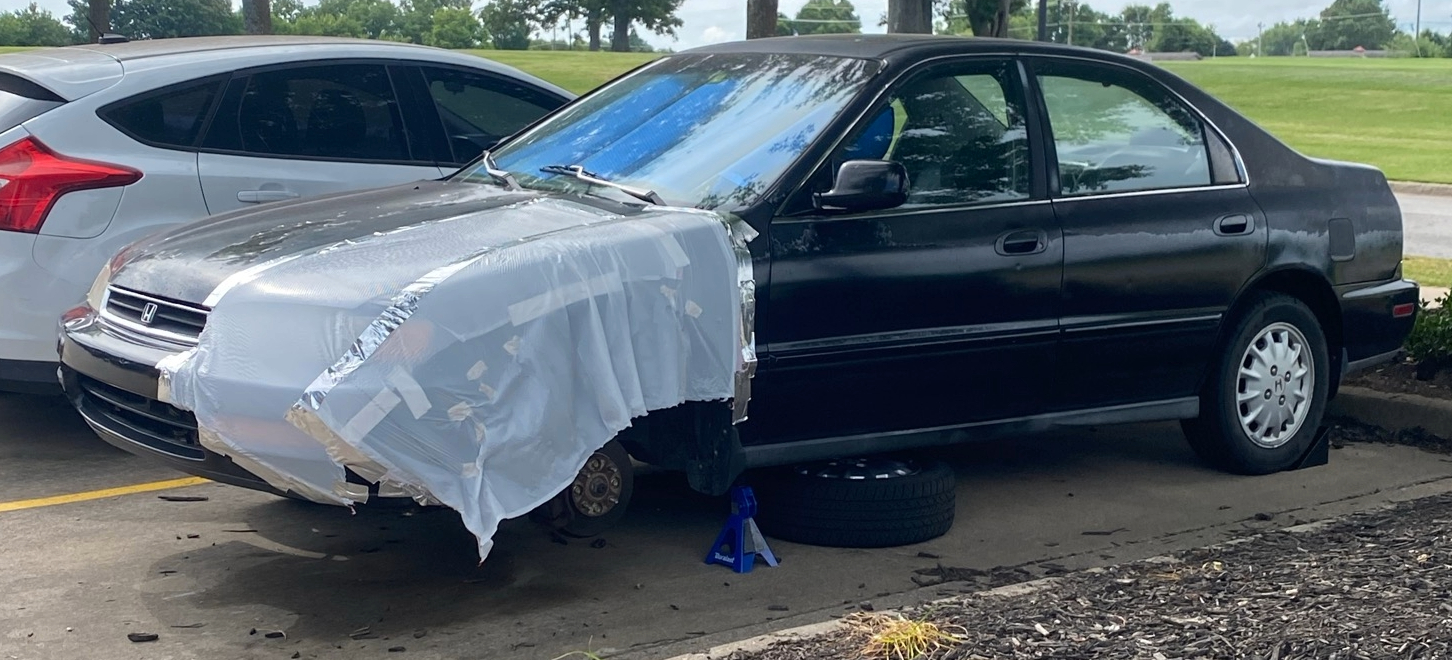
I threw everything back together as fast as I could, just to keep the engine dry.
- Motor mount, remounted.
- Power steering pump, connected.
- Timing covers, back on (painfully).
- Valve cover, covered.
I didn't have a tarp, so trash bags and duct tape had to do. I left it in the driveway and went inside to figure out what came next.
Nutty Putty
After a night of rest and a trip to the Honda parts department for the balance shaft adjuster bolt I'd destroyed (part 90018-PT0-010), I was ready to start extracting the severed stub.
I tried several methods. Every one of them was blocked by the side frame of the car sitting a few inches from the work area. Even the specially made angle-drill attachments for tight spaces were too bulky. At times it felt like I was stuck inside a cave, easing myself out inch by inch.
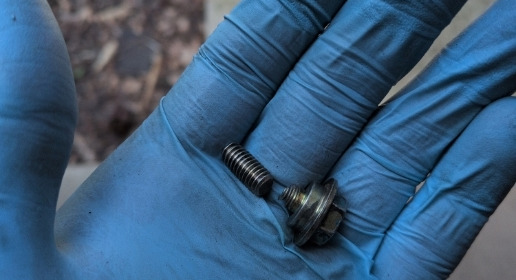
What ultimately worked was crude. Place a drill bit on the broken edge of the fastener, tap it lightly with a small hammer, rotate a quarter turn. Then another. Then another. On and on for about three hours. And then, at long last, the fastener was out. One challenge, ended.
Home Stretch
With the bolt out, I could focus on finishing the job. By this point I'd grown extremely familiar with the timing side of the engine and was ready to turn the page on it. I decided to start fresh another day for reassembly, water pump, timing, and coolant.
A week had passed since I'd started. This next session would be the final push.
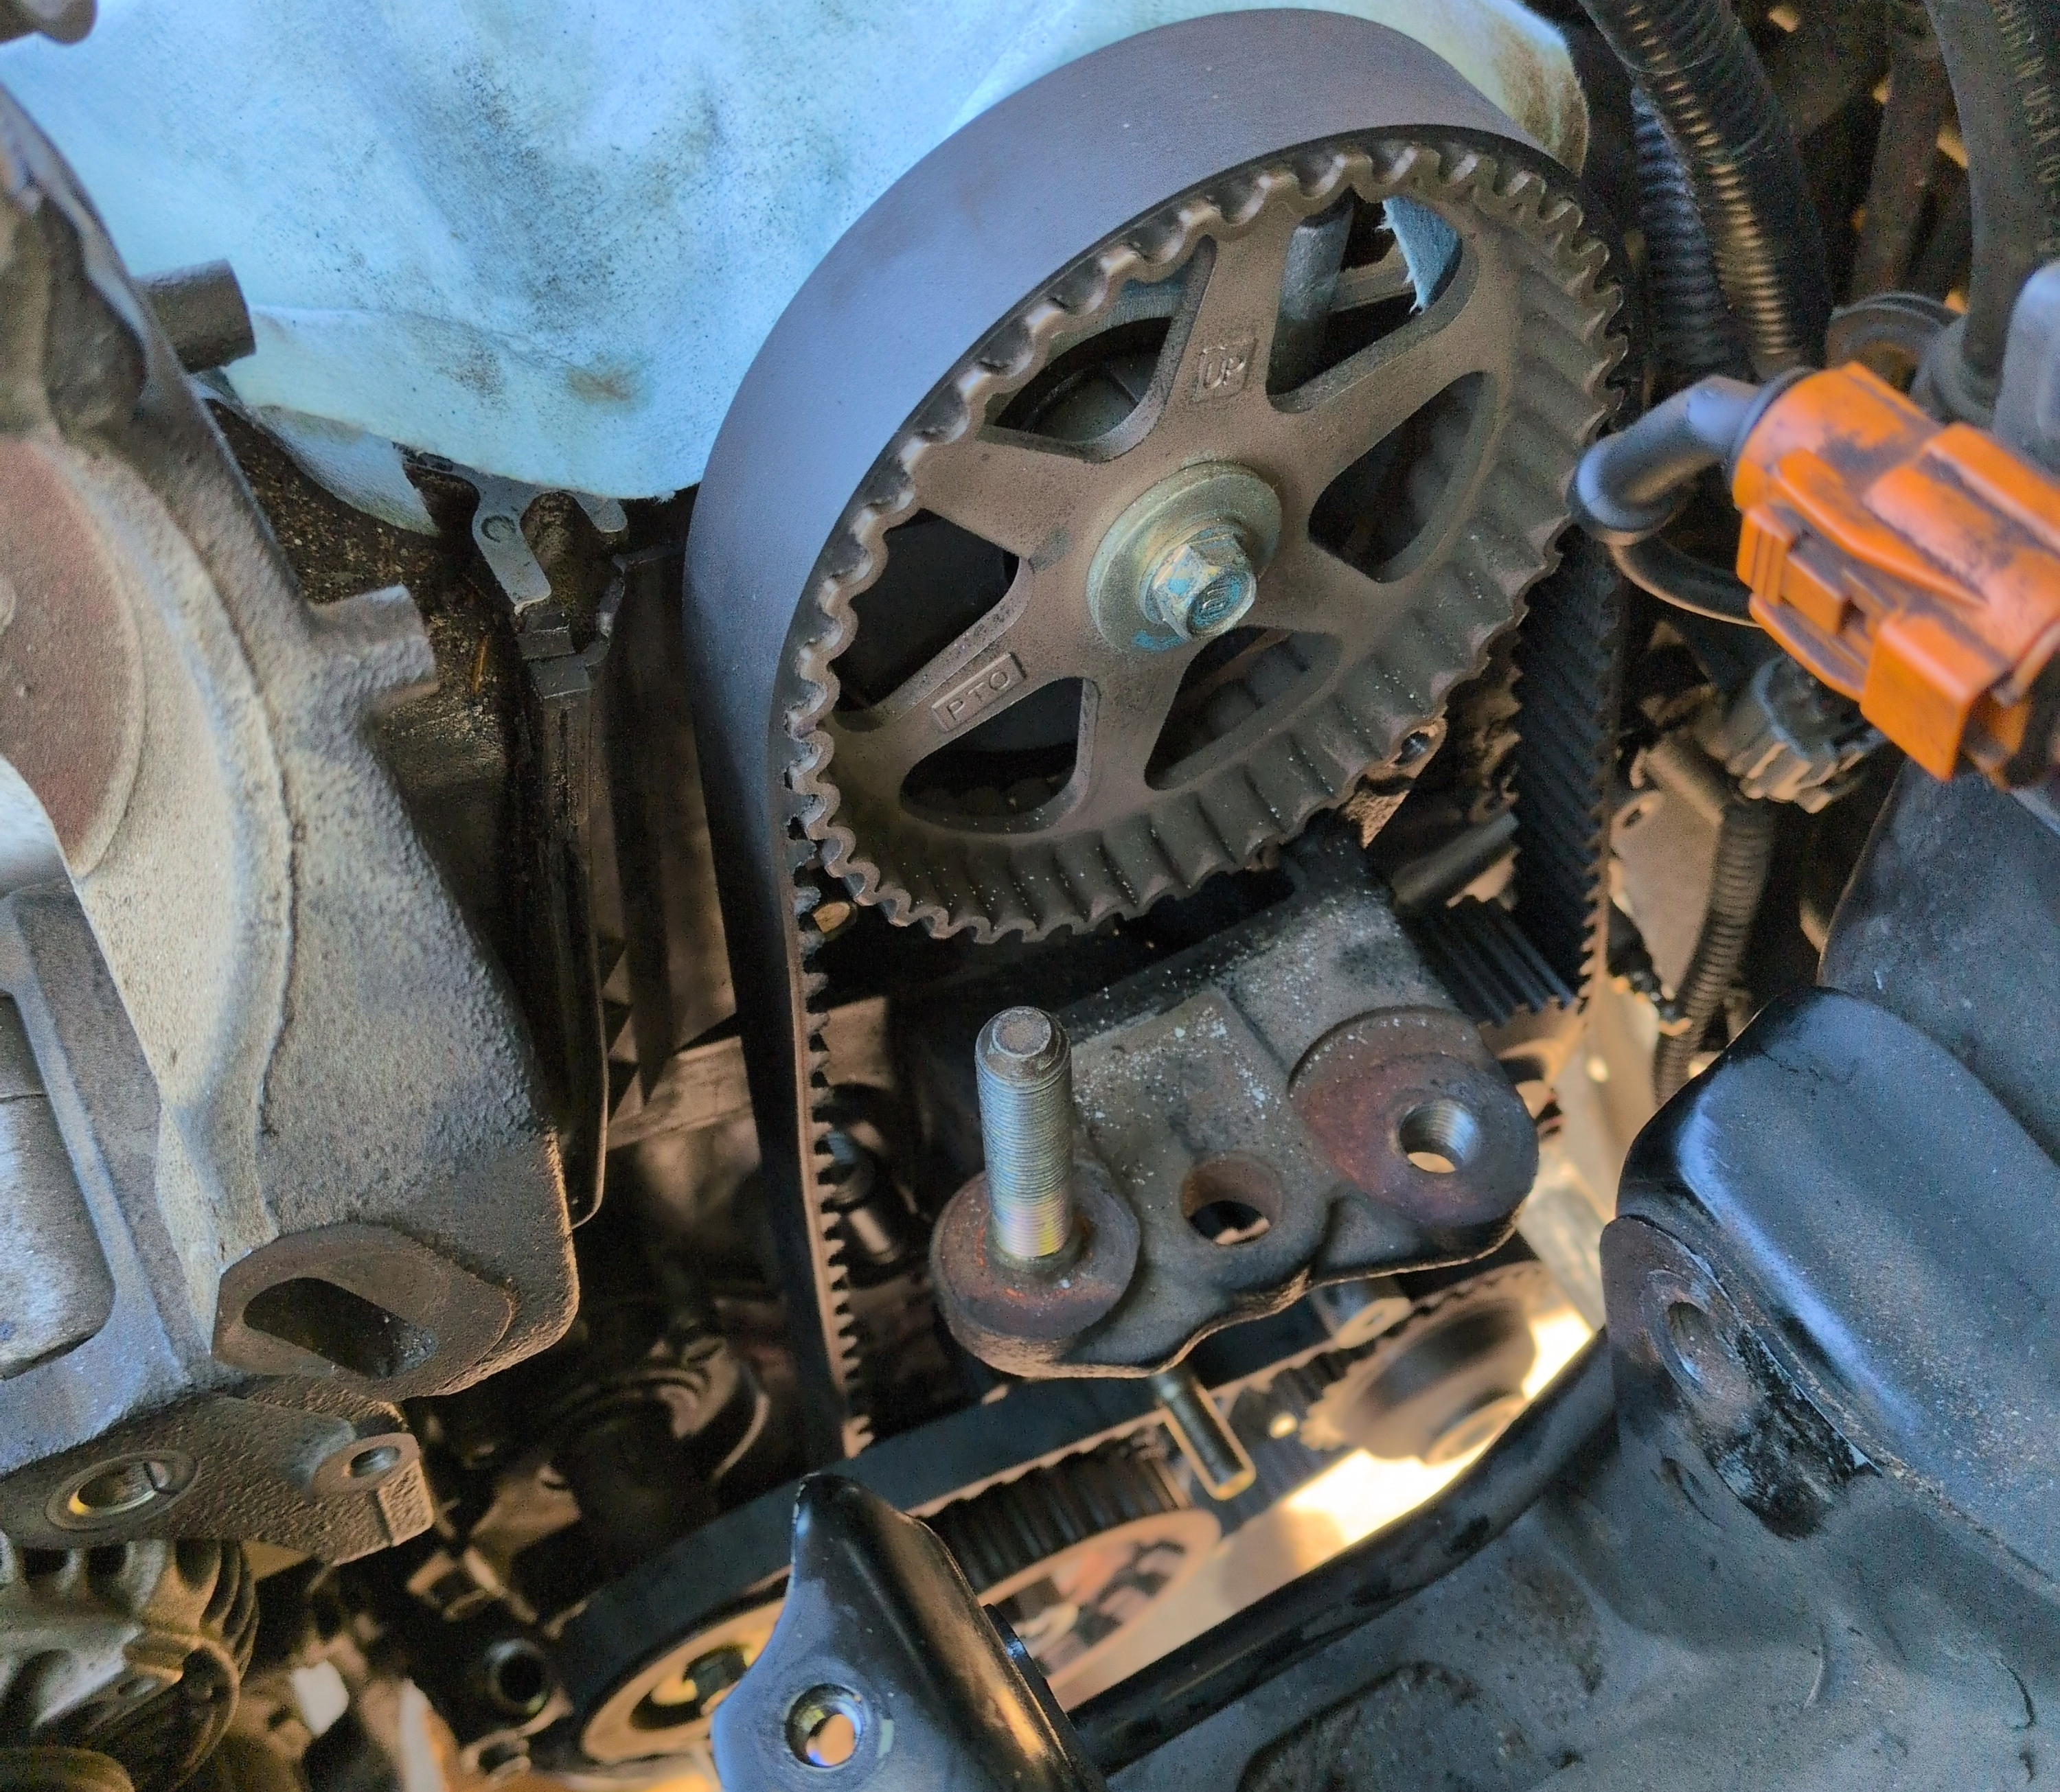
After work, I set to reassembly. The water pump went in first, and it was fairly straightforward — claustrophobia aside. Next was the timing tensioner, then routing the timing belt around the water pump, crankshaft, and camshaft pulleys, meticulously double- and triple-checking the critical timing marks on every rotational part.
Then the balance shaft tensioner, bracket, and belt — straightforward as well. With everything belted and tensioned, it was time to rotate the crankshaft by hand and confirm the pistons and valves weren't going to collide.
One Last Hitch
It is critical to rotate everything after replacing a timing belt, before final reassembly and before starting the engine. This is what confirms you haven't put it back together in a way that lets the pistons hit the valves. The standard practice is to use a wrench to turn the crankshaft (via the harmonic balancer) counterclockwise six full revolutions.
So I did exactly that — and found one extremely annoying revelation. The timing belt was drifting horizontally against the camshaft pulley immediately to the left of the gear. Something was misaligned.
I scanned the area from the top and the bottom of the engine. No obvious culprit. That left one option: disassemble again, reassemble again, and hope everything lined up.
So I did just that. Tested again. No drift. Thank god.
Fin
By the end of the final session I'd been under the car for around six hours. It was well past dark and it smelled like rain. Perfect.
All that was left was to reinstall the timing covers, set the motor mount back in place, mount the alternator and power steering pump, reconnect cables, and reinstall the valve cover with a fresh gasket.
Under the duress of a looming midnight storm, it all went smoothly — with the exception of the lower timing cover, a notoriously finicky install. Close quarters aside, I managed to finagle it into place.
With that, the job was done. I went to sleep. A couple of days later I refilled the coolant and very nervously started the engine.
Safe.
It had been the job from hell, every bit as painful and challenging as I'd expected. But it felt good to know I'd done it, despite just about every block that could have come up.
The Honda Afford lived to creep another day.